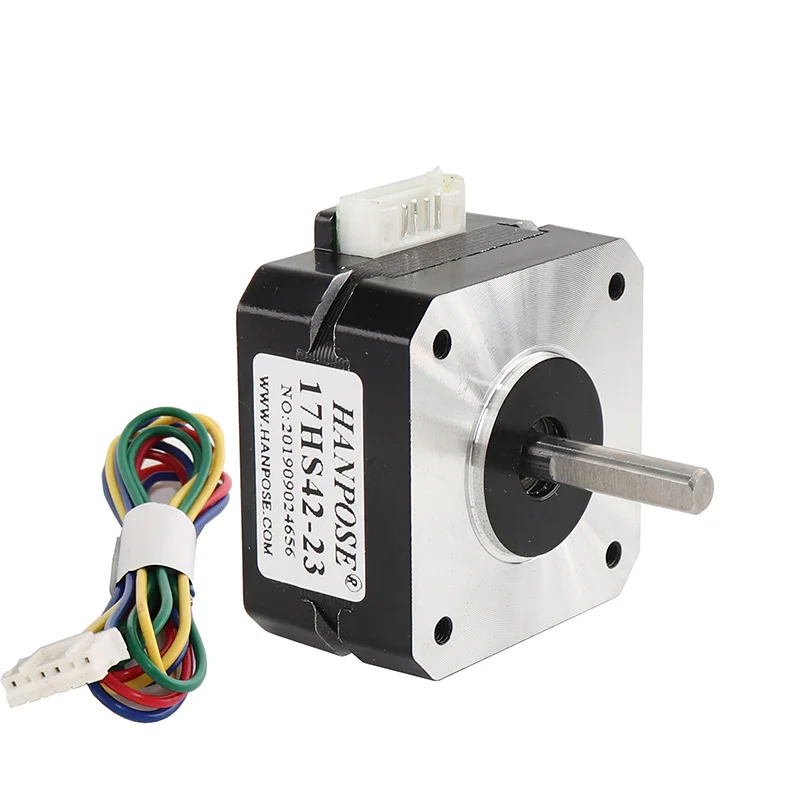
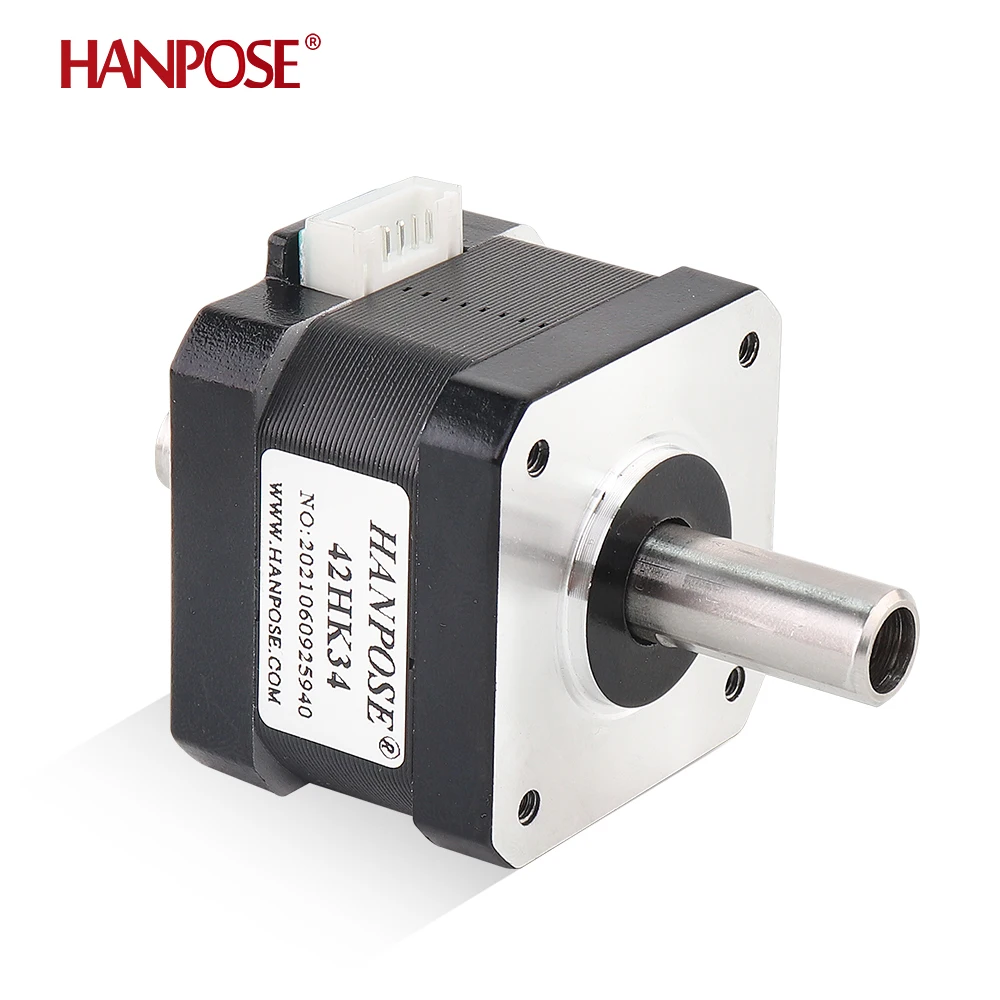
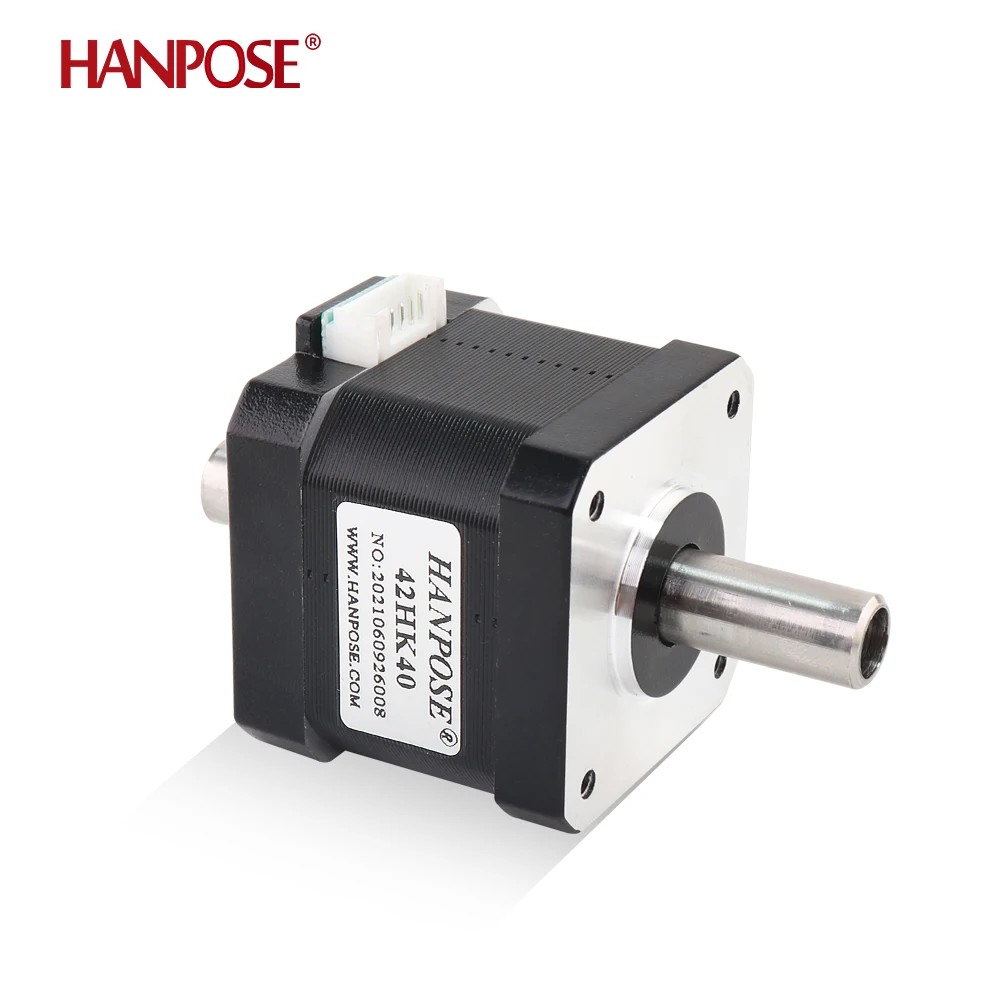
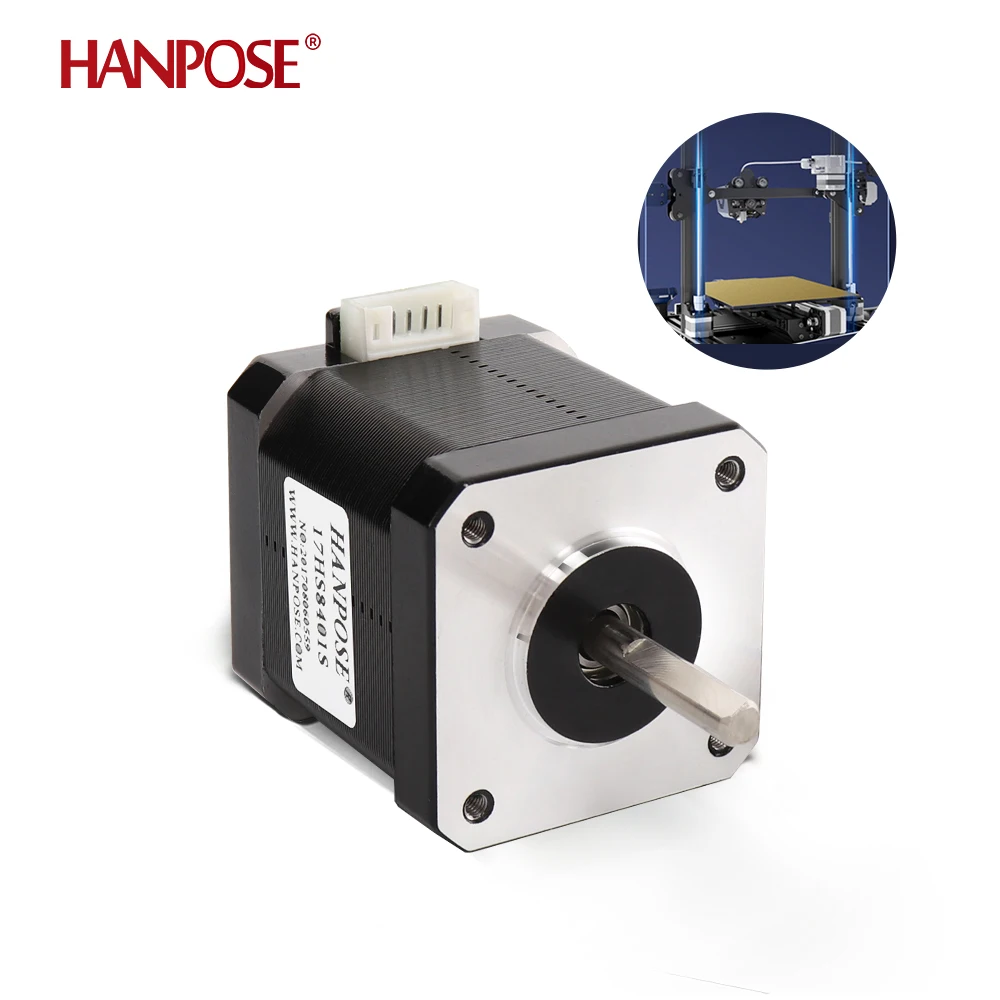
NEMA 17 Bi-Polar စတီပါမောတာသည် စတီပါဈေးကွက်တွင် အပြိုင်းပြိုင်ရှိသော မောတာဖြစ်ပြီး 3D ပရင်တာနှင့် အခြားအသုံးချမှုများအတွက် အကောင်းဆုံးရွေးချယ်မှုဖြစ်ပါသည်။ ဒီမောတာကို 'bipolar' ဟုခေါ်ပါသည်။ အဘယ်ကြောင့်နည်းဟူမူကား သံလိုက်ကိုရွှေ့နိုင်ရန် တွဲဖက်လုပ်ဆောင်သော ကော်လ်(၂)ခုရှိသောကြောင့်ဖြစ်ပါသည်။ NEMA 17 ဟုခေါ်သည့်အကြောင်းရင်းမှာ ၎င်းတွင် 43mm မျက်နှာပြင်ရှိပြီး 1.7 x 1.7 လက်မ စတုရန်းပုံစံ တပ်ဆင်ထားသောအပေါက်များရှိသောကြောင့်ဖြစ်ပါသည်။ စတီပါများ၏ 23 အရွယ်အစားအမျိုးအစားများစာရင်းတွင် 17 အရွယ်အစားအမျိုးအစားဟုလည်း တူညီစွာခေါ်ဝေါ်ကြပါသည်။
HANPOSE ကိုဝိုင်ယာချိတ်ဆက်ရန် nEMA17 အကြောင်းချိတ်မော်တာ သင်သည် မောတာမှ ဝိုင်ယာများကို bipolar စတီပါမောတာဒရိုင်ဘာသို့ အထူးအစီအစဉ်အတိုင်းချိတ်ဆက်ရန်လိုအပ်ပါလိမ့်မည်။ မောတာတစ်ခုနှင့်တစ်ခုတွင် အစီအစဉ်များသည် တူညီမှုမရှိပါ။ အမှားလုပ်ဆောင်မှုမရှိစေရန် မောတာ၏ဒေတာရွက်ကို စစ်ဆေးရန်လိုအပ်ပါသည်။
မော်တာကို ဝါယာကြိုးချိတ်ဆက်ပြီးနောက် စတဲပါမော်တာဒရိုင်ဘာသို့ဖလိုးကုဒ်ကိုရေးခြင်းဖြင့် မော်တာကိုထိန်းချုပ်နိုင်သည်။ ဤအချက်များသည် မော်တာကိုထိန်းချုပ်ပြီး မည်မျှလှမ်းခြေလှမ်းရမည်ကိုဖော်ပြသည်။ ထိုသို့ထိန်းချုပ်မှုများကိုထိန်းချုပ်ခြင်းဖြင့် သင်လိုလျှင်အတိုင်းမော်တာကိုရွှေ့နိုင်သည်။
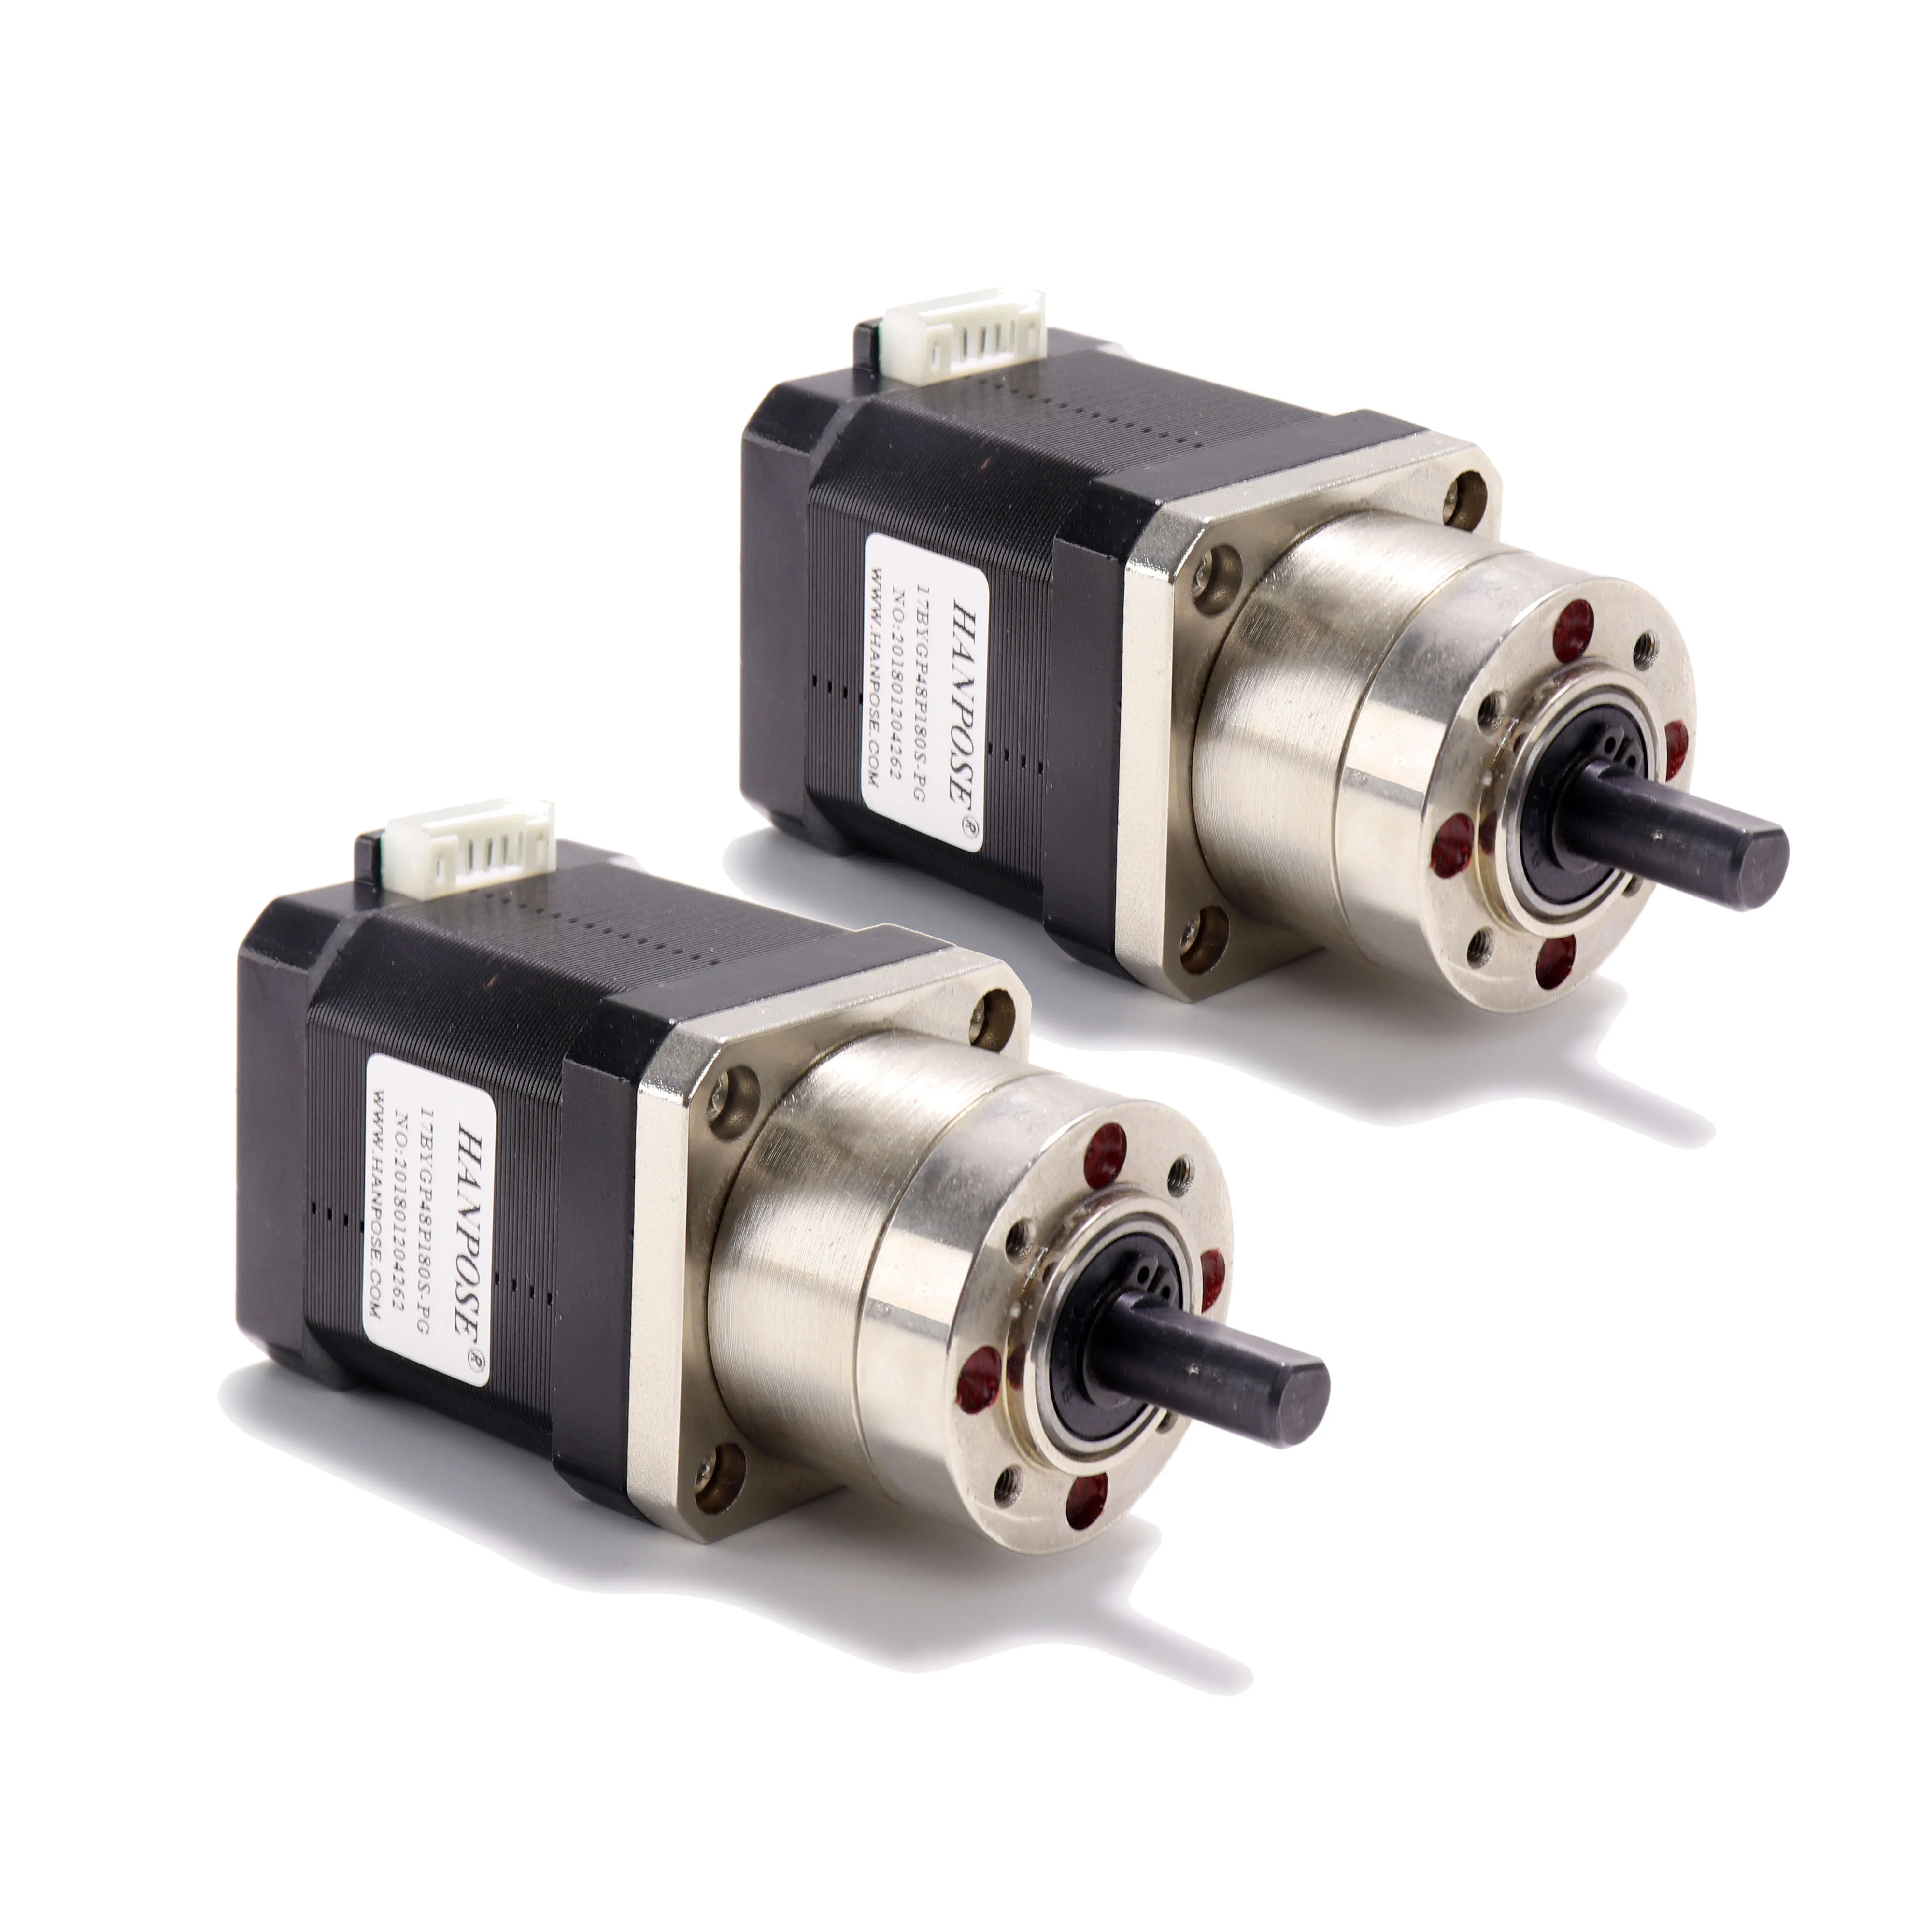
NEMA 17 bipolar စတဲပါမော်တာကိုသင့် DIY တည်ဆောက်မှုတွင်အသုံးပြုရန်အကြောင်းရင်းများစွာရှိသည်။ တစ်ခုမှာ HANPOSE nema 17 stepper driver အလွန်တိကျမှုရှိသည်။ သင်လိုလျှင်နေရာသို့တိတိကျကျရွှေ့နိုင်စေသည်။ ဤကြောင့် တိကျမှုသည်အရေးကြီးသောပရောဂျက်များတွင်မကြာခဏအသုံးပြုသည်။ ဥပမာ- 3D ပရင်တာများ။
N17a ပြဿနာဖြေရှင်းခြင်း NEMA 17 bipolar စတဲပါမော်တာများတွင်တစ်ခါတစ်ရံပြဿနာများဖြစ်နိုင်သည်။ ဤသည်ကိုမည်သို့ပြုပြင်ရမည်ကိုကြည့်ပါ။ အများဆုံးပြဿနာတစ်ခုမှာ HANPOSE nema 17 စတီပါမိုတာအား ပုတ်သွင်းထားသည့် ပတ်/မိနစ် သင်ကိုယ်တိုင်မောင်းနှင်ရန်ကြိုးစားသော်လည်းရွှေ့မသွားခြင်းဖြစ်နိုင်သည်။ ဝါယာကြိုးဆိုင်ရာပြဿနာ၊ မော်တာဒရိုင်ဘာဆိုးခြင်း သို့မဟုတ် အခြားအကြောင်းအရာများကြောင့်ဖြစ်နိုင်သည်။
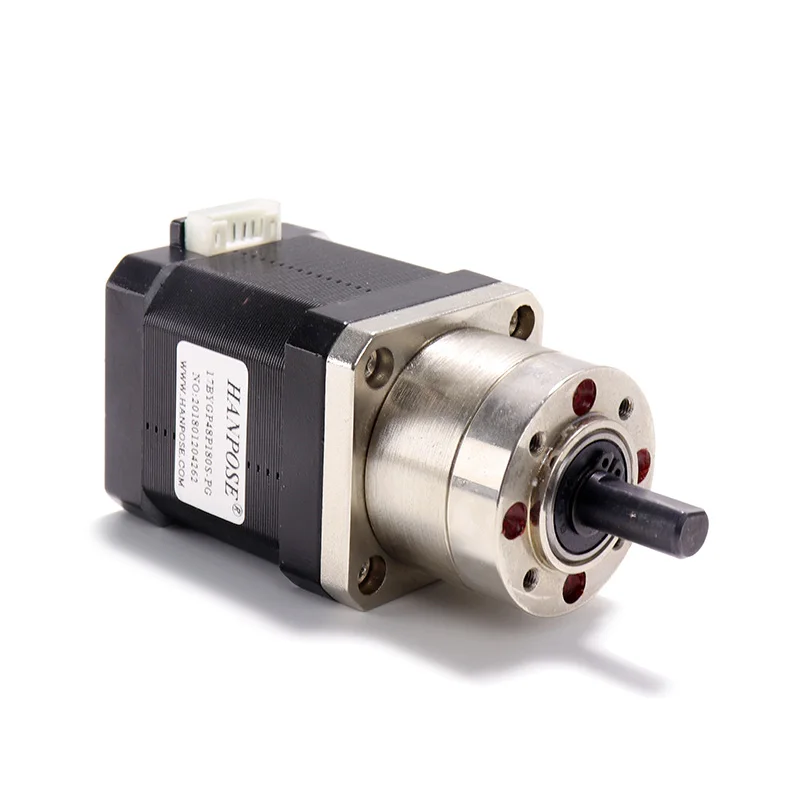
သင့်မှာ 3D ပရင်တာ ရှိပါက ပုံမှန်စတီပါမောတာကို အစားထိုး၍ ဒီ Bipolar စတီပါမောတာကို တပ်ဆင်ခြင်းဖြင့် ပရင်တာကို ပိုမိုကောင်းမွန်စေနိုင်ပါသည်။ ဤမောတာများသည် ဈေးဝယ်ရရှိနိုင်သော မောတာများထက် ပိုမိုတိကျမှုရှိပြီး သင့်၏ 3D ပရင်တ်များတွင် ပိုမိုကောင်းမွန်သော အရည်အသွေးကို ရရှိစေနိုင်ပါသည်။ ထို့အပြင် HANPOSE စတက်ပါမောတာနဲမာ ၁၇ တွန်ချိန် သည် တွက်ချက်ရာတွင် နှိုင်းယှဉ်၍ လွယ်ကူစွာထိန်းသိမ်းနိုင်ပြီး သင့်ပရင်တာကို ပိုမိုချောမွေ့စွာနှင့် တိကျစွာ ရွှေ့ပြောင်းနိုင်စေပါသည်။
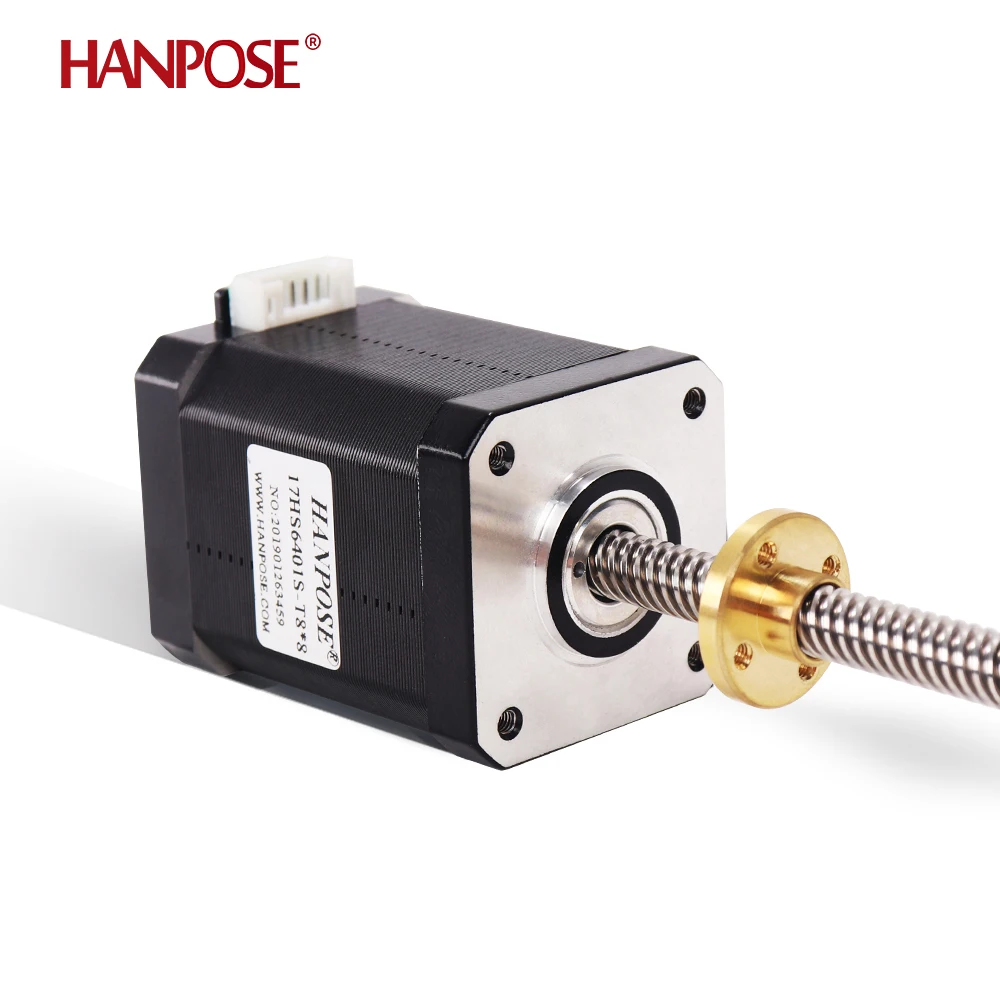
ဟောင်းနွမ်းသောမောတာများကို ဂဃနဏဖြုတ်ခြင်းနှင့် ပလပ်ထုတ်ခြင်း၊ နောက်ထဲသို့ ဝါယာကြိုးများကို တပ်ဆင်ပြီး ပြန်လည်တံများကို တွဉးခြင်း လိုအပ်ပါလိမ့်မည်။ အသစ်မောတာများ အလုပ်လုပ်နိုင်ရန် သင့်ပရင်တာဆော့ဖ်ဝဲတွင် ဆက်တင်များကို ပြင်ဆင်ရန် အလားအလာရှိပါသည်။ တိုးတက်မွေးမြူရေးကို ပြီးစီးပြီးနောက် သင့်၏ 3D ပရင်တ်များသည် ပိုမိုတိကျမှုနှင့် မြန်နှုန်းများလာမည်ကို တွေ့ရပါလိမ့်မည်။
HANPOSE-သို့ ကြိုဆိုပါတယ်၊ တရုတ်တွင် stepper motor ထုတ်လုပ်ရေးရွှေ့ပြီးသော အဆောက်အအုံဖြစ်ပါတယ်! ကျွန်ုပ်တို့မှ ပြည့်စုံသော motor များ၊ နέဗူးတက္ကန်ဖြင့် ဖွံ့ဖြိုးတိုးတက်မှု၊ motor အသုံးပြုမှုကို ပို၍ ကျယ်ပြန့်စေပါသည်
တရုတ်နိုင်ငံ၊ ကွန်တွင်ပြည်နယ်၊ ဂွန်းဇူးမြို့၊ ဘေးယွန်းခရိုင်
权 © ဂွန်ကောင်မြို့ HANPOSE 3D တီးချွန်သူအဖွဲ့။ ရှုံးလင်ခွင့်အားလုံးကို ထိန်းသိမ်းပါသည် ပါတီသီးဝင်း ဆိုင်ရာ ညွှန်ကြားချက် ဘလော့ဂ်