Servo motors are awesome things that can help you in all kinds of projects! Now if we hook them up to an Arduino, we can make them move how we like. It’s like having your very own robot friend that you can control from your computer.
Servo motors are neat because they can be positioned at a particular angle: turning to one side to open, turning back the other way, then stopping at a specified angle. When we hook the HANPOSE servo motor brands to an Arduino, and tell it to go to a certain position, it precisely goes there and holds that position. It’s like giving the motor an extraordinarily precise map to follow.
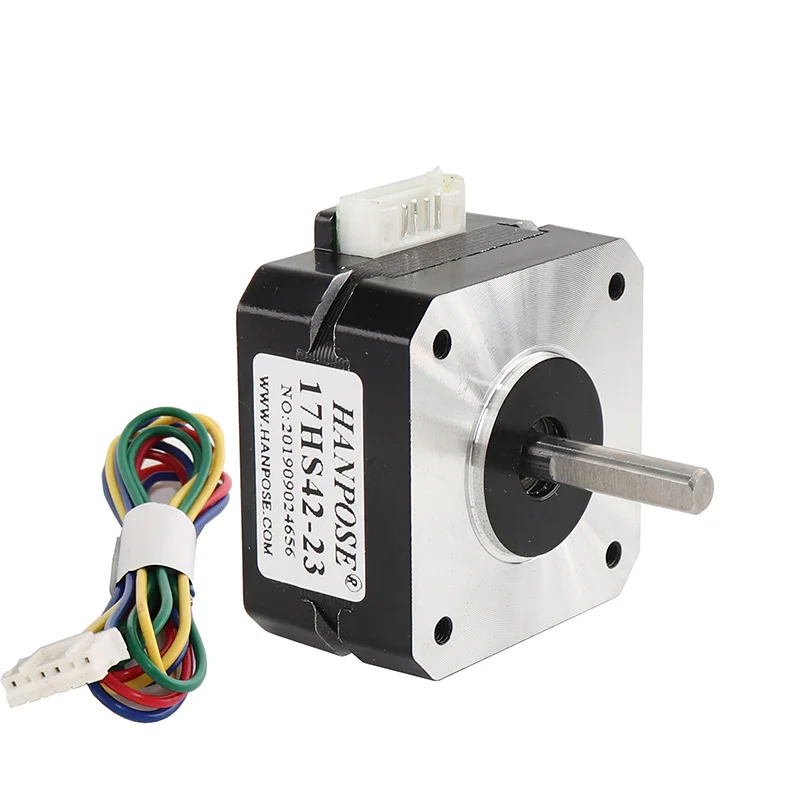
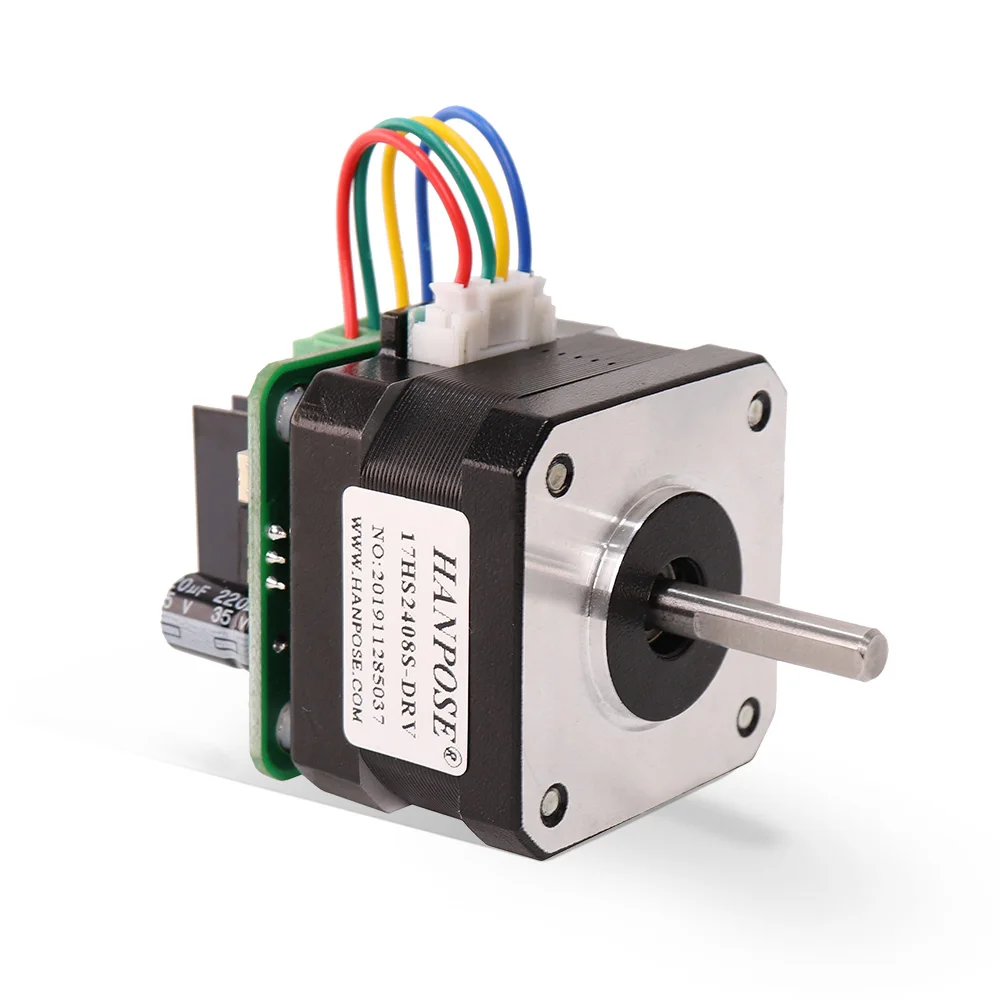
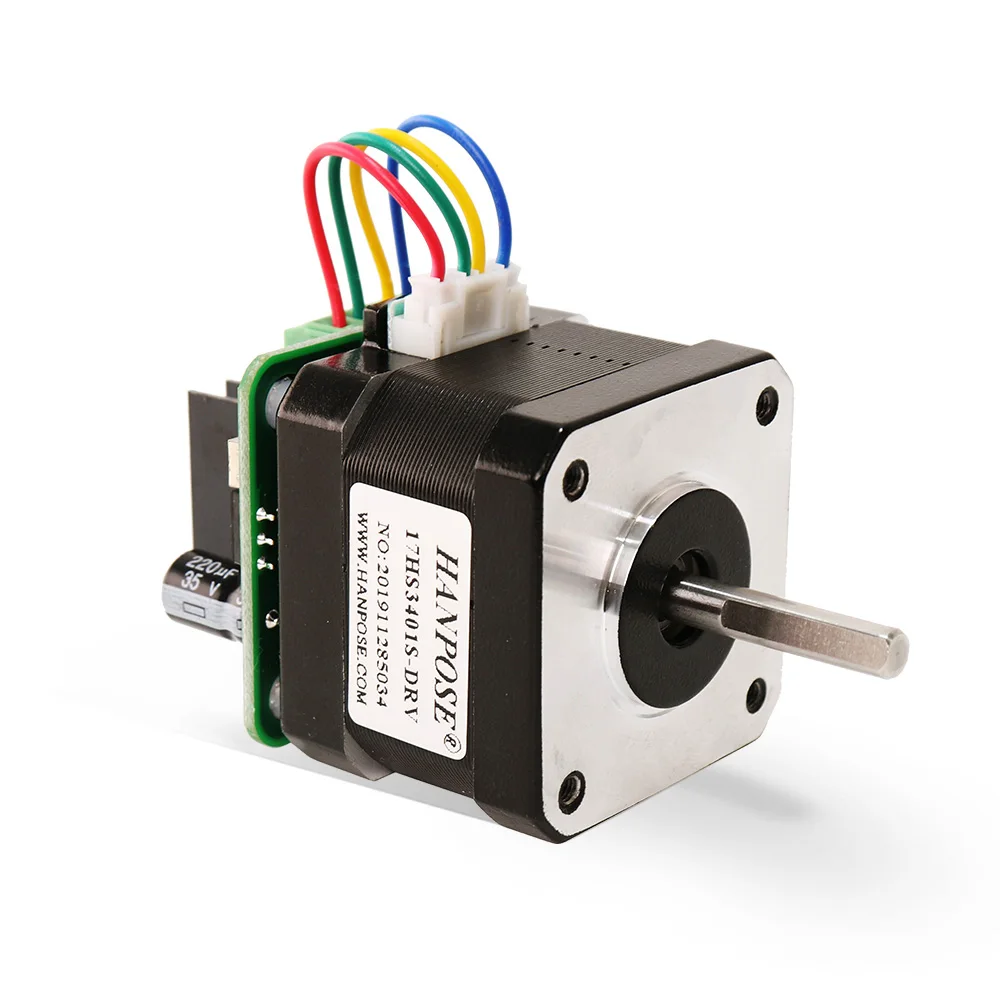
Using a Servo Motor with an Arduino To use a servo motor with the Arduino, we must first connect it to the Arduino using 3 male-to-female wires. The servo motor comes with three wires: power, ground, and signal. The VCC and GND wires from the sensor are wired to the VCC and GND on the arduino, with the SIGNAL wire hooked up to one of the digital pins. we can then program the Arduino to instruct the servo motor where it should go (using the signal wire).
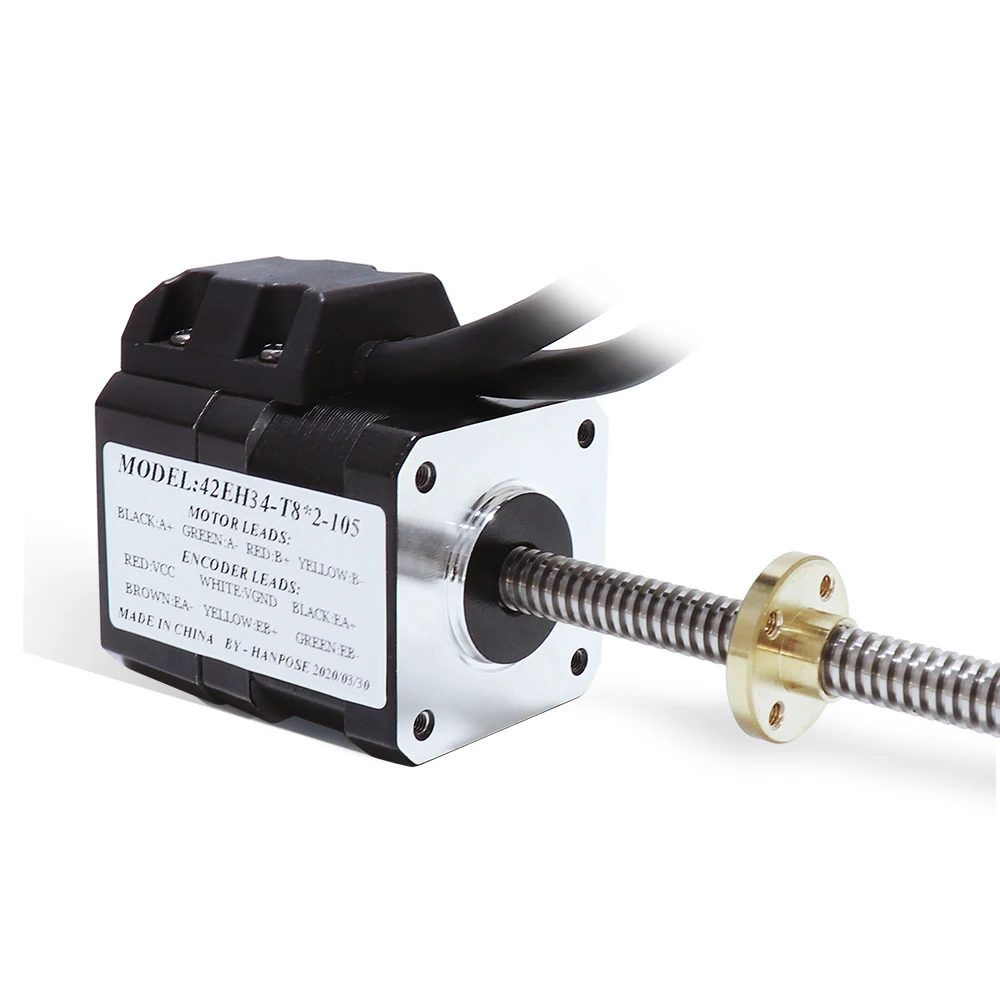
After we’ve learned some basics, there are some even cooler things we can do with our servo motor and Arduino. We can move the HANPOSE hollow shaft servo motor smoothly from one position to another, incrementally, using a loop which changes the position just a little bit each time round. We could also make the servo motor turn in reaction to sensors, such as a light sensor or motion sensor, allowing us to create interactive projects that react with the world.
Servo Motor Arduino Code Servo motor control in Arduino code: After writing the code in the Arduino IDE, load the code into the Arduino board. For update the HANPOSE screw servo motor position, we simply write the position to the servo, after which it moves to the correct position.
Once in a while, when we’re doing a project on a servo motor with Arduino, then it becomes necessary to test a servo motor. There are a few reasons why the HANPOSE ball screw with servo motor is not behaving as we expected, perhaps the wires are not properly connected or the code is written incorrectly. We can also play with the power supply to ensure that the servo motor is receiving enough power to move. And when we’re really out of ideas, we can call on a buddy or a teacher who happens to be better versed in Arduino programming.
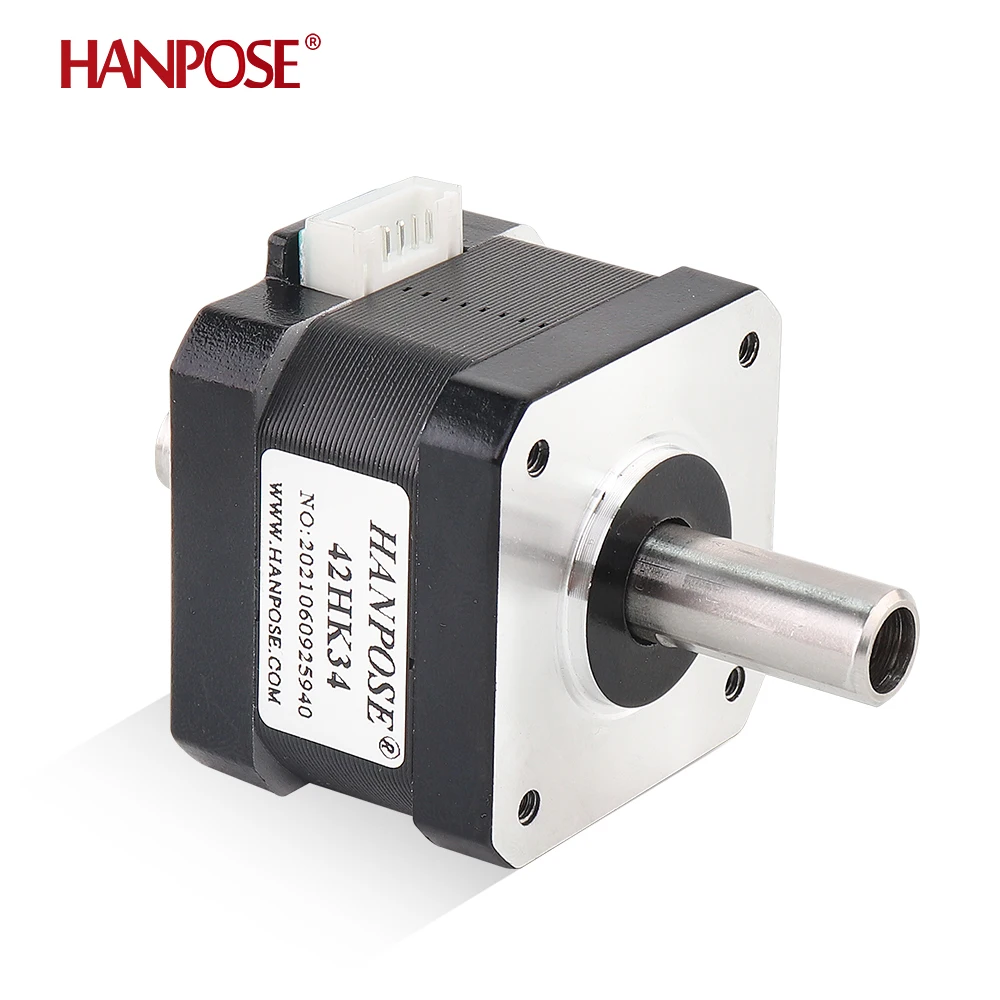
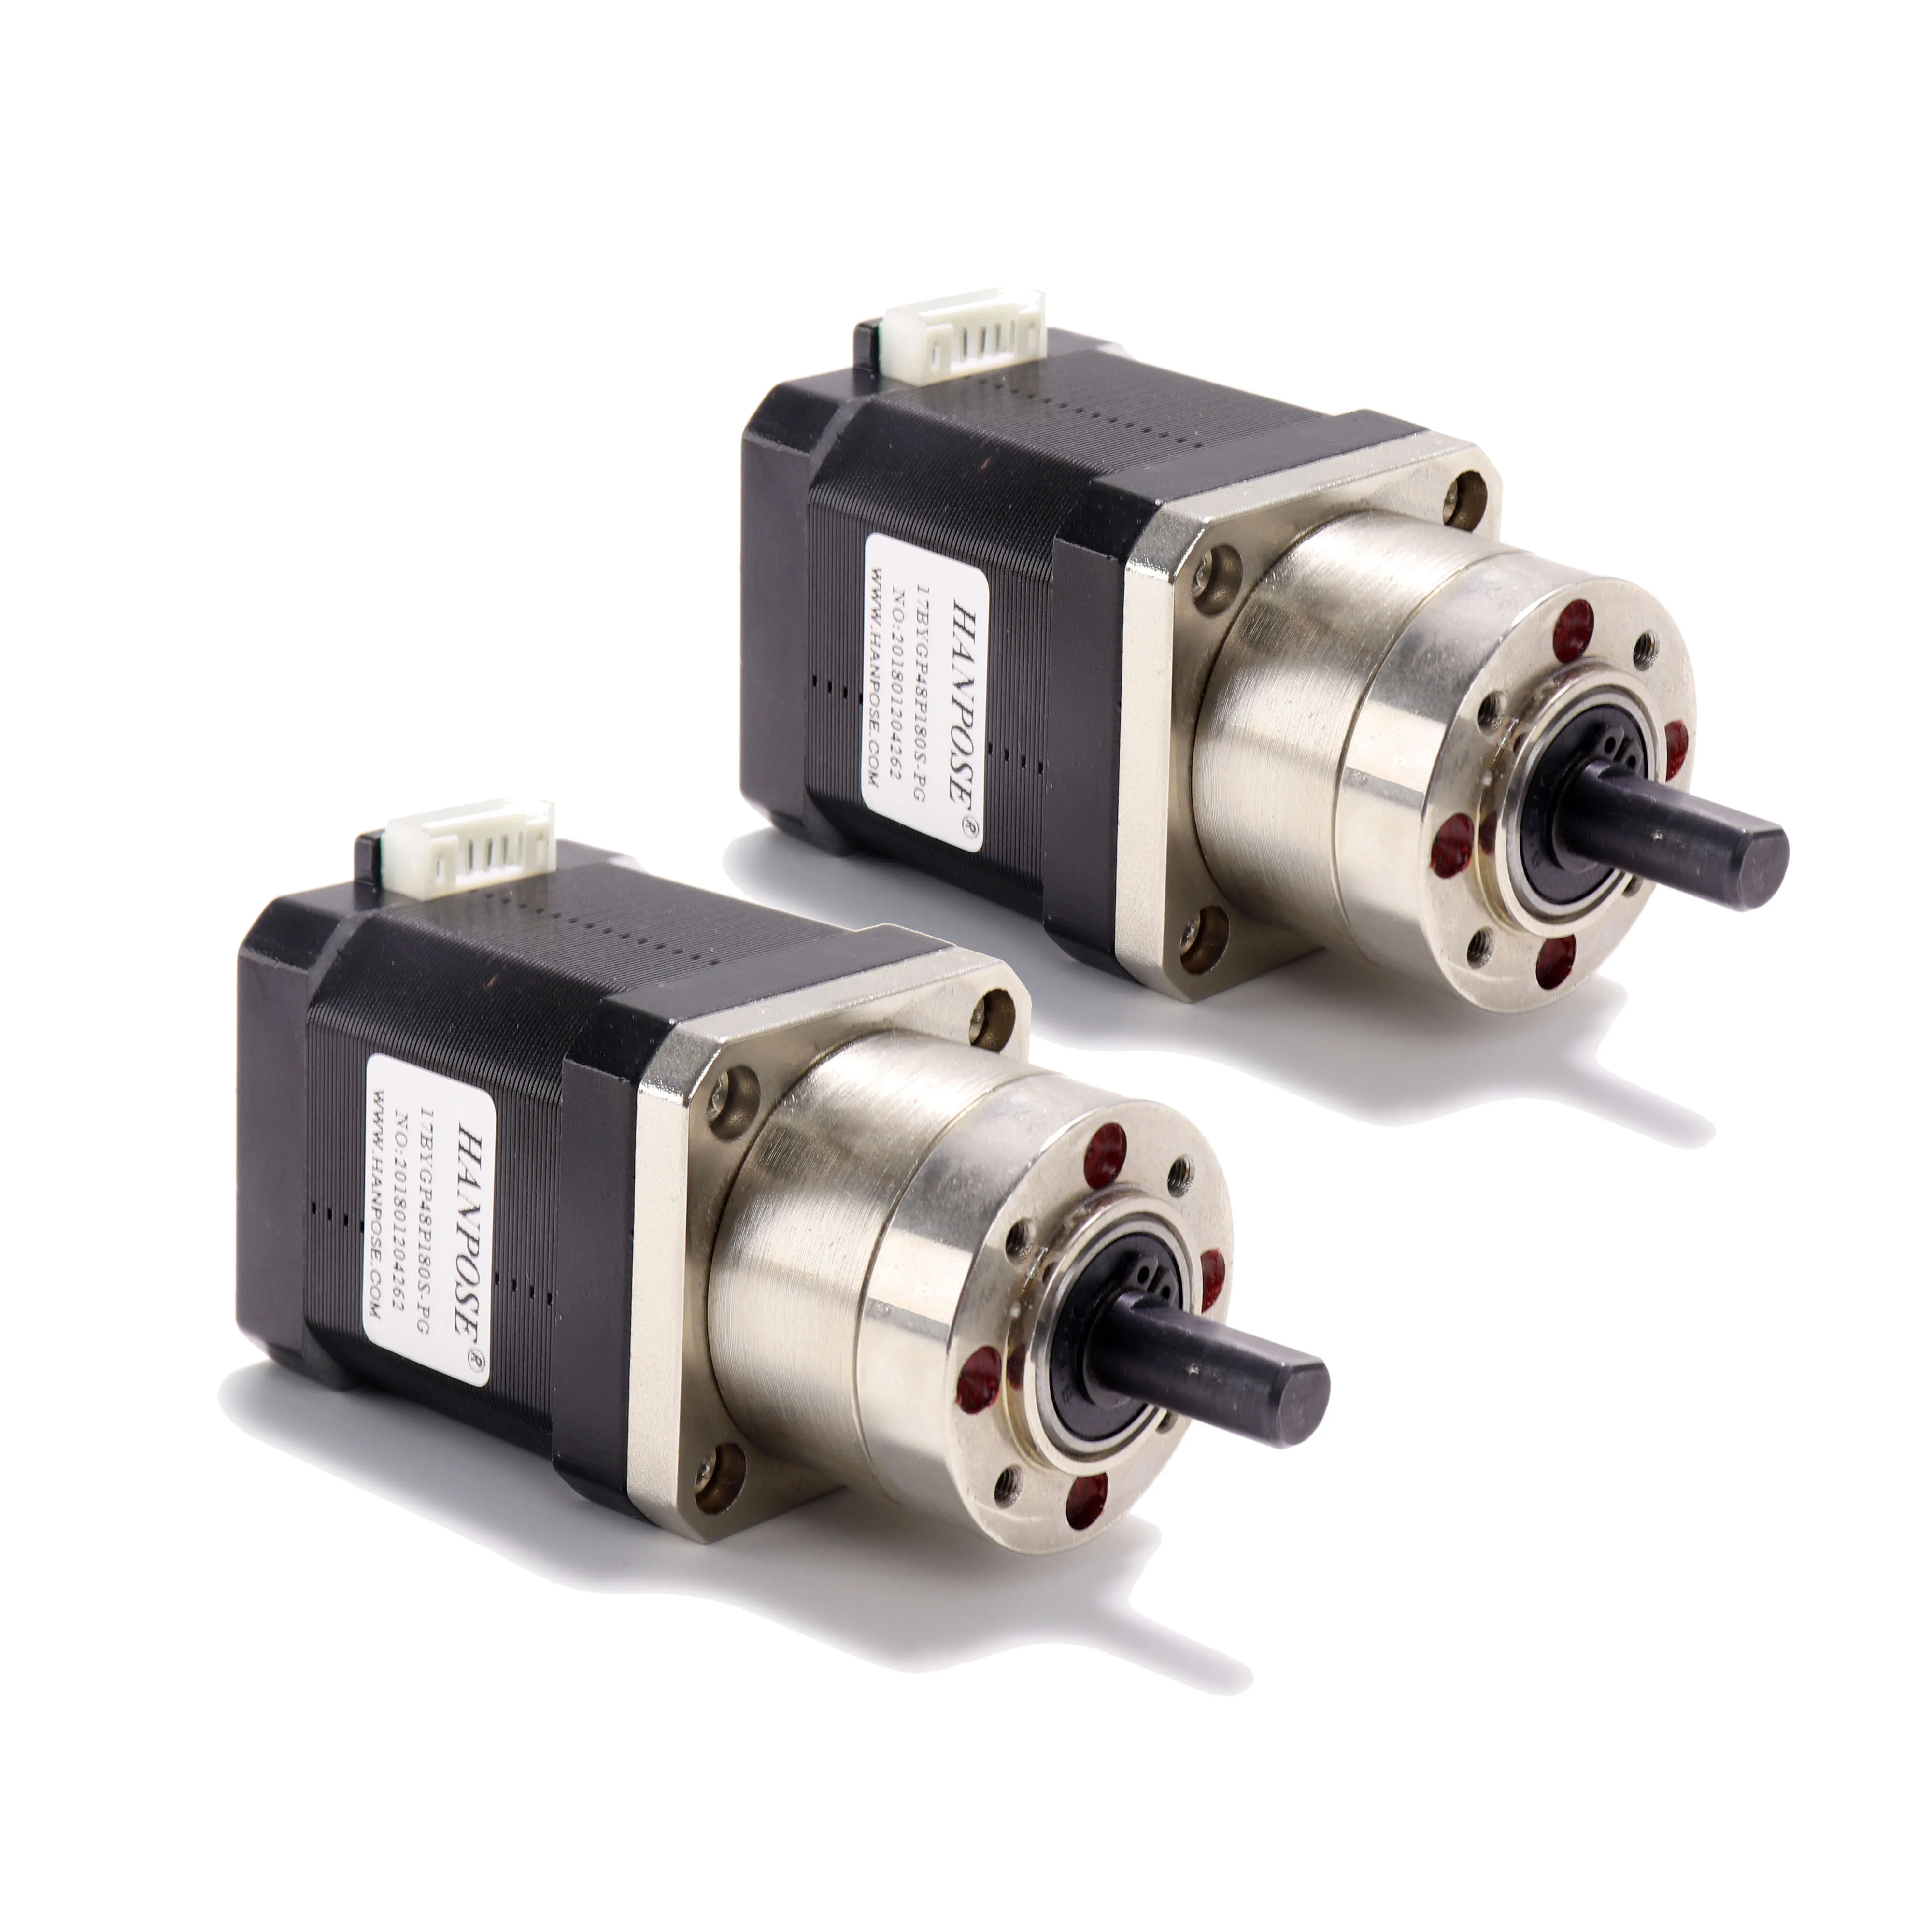
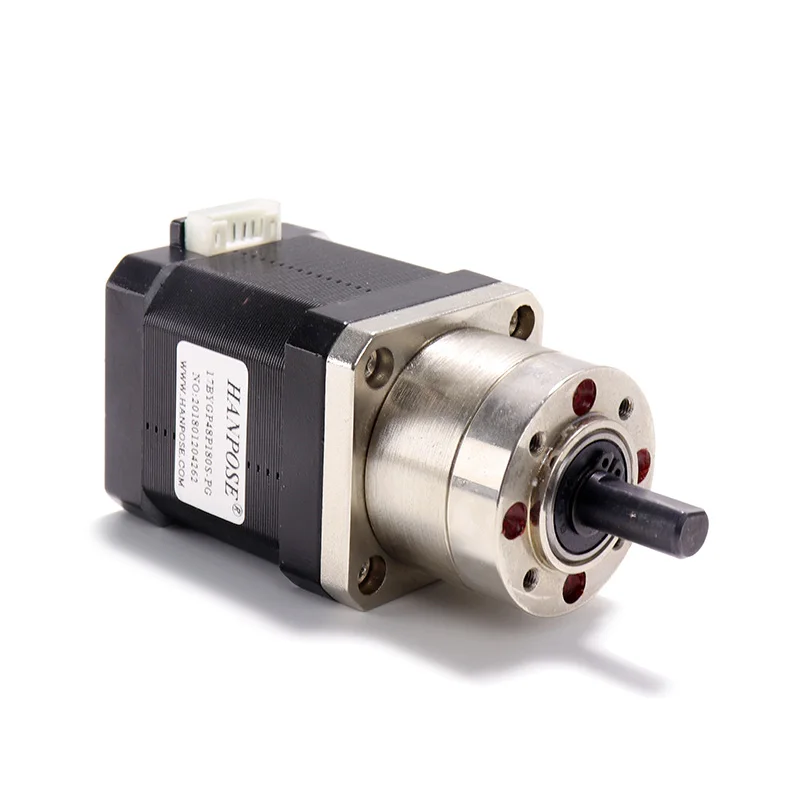
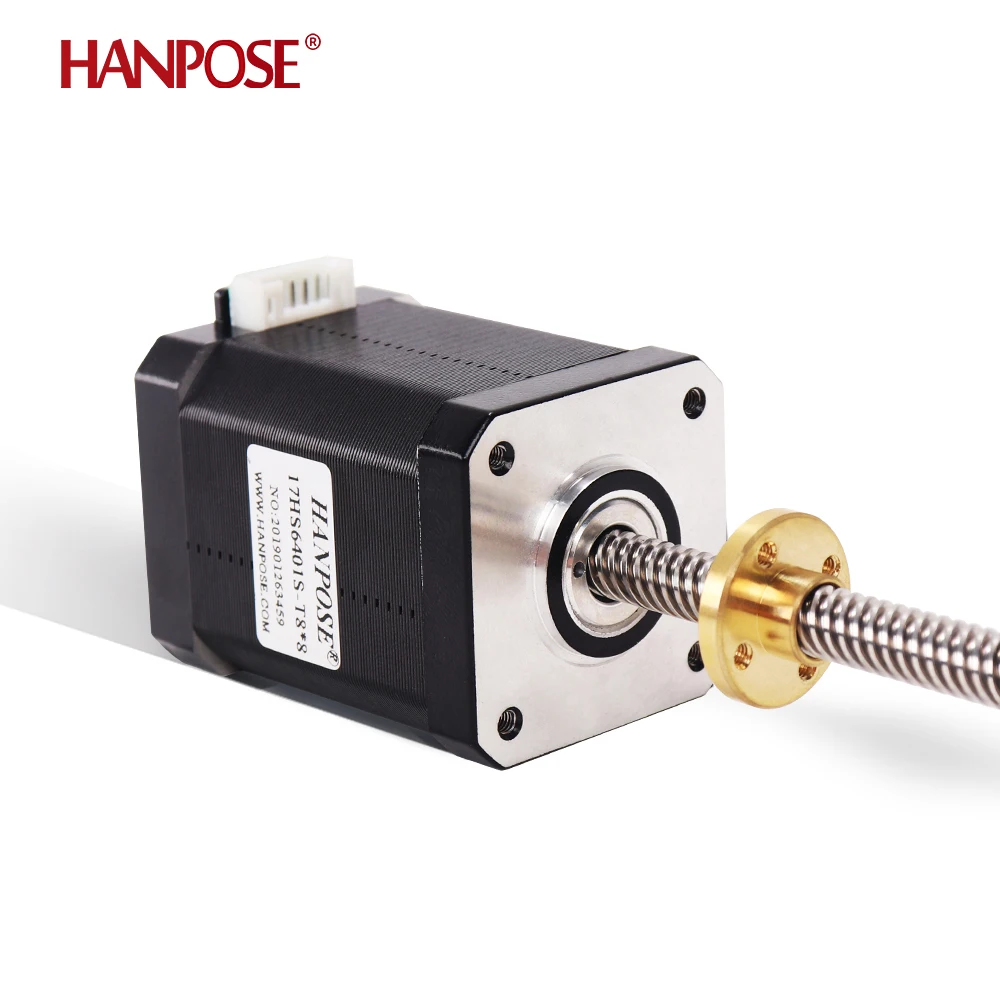
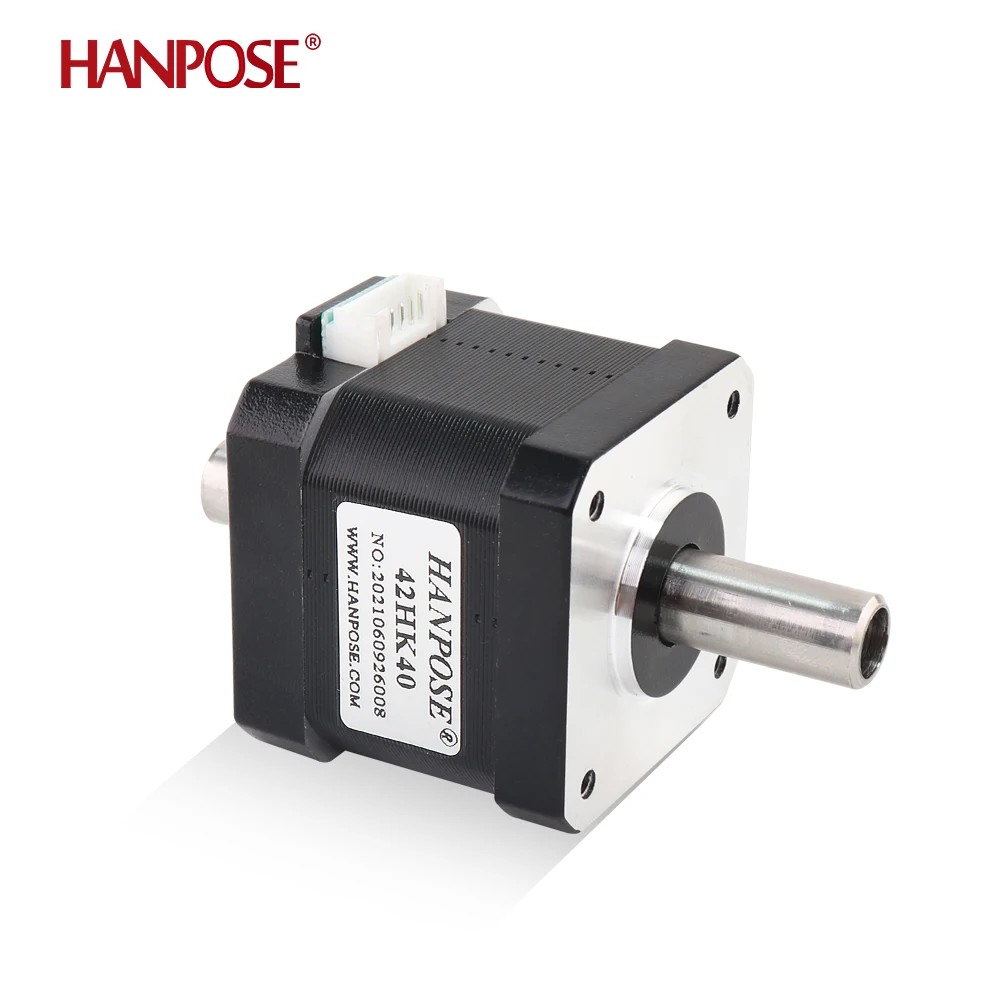
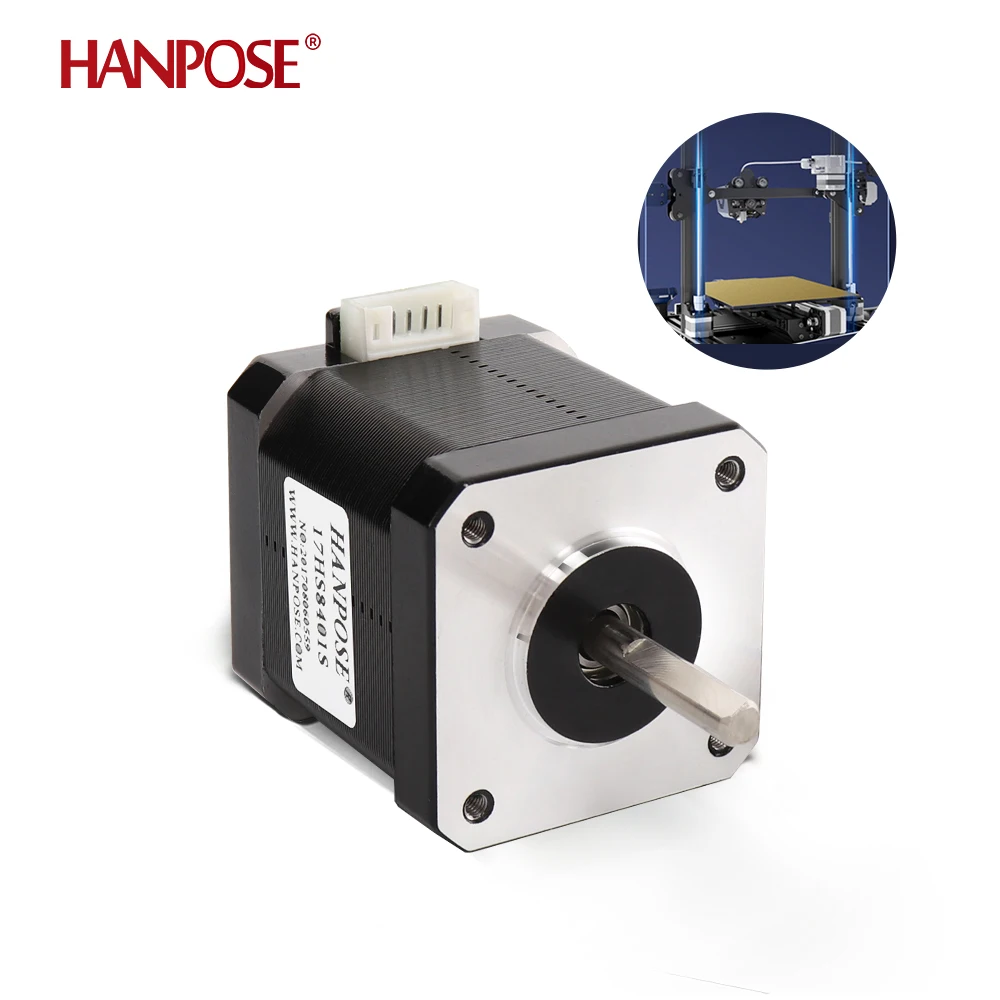
Welcome to HANPOSE, stepper motor manufacturing plant in China! We provide comprehensive motor models, new technology development. motor application broader
Baiyun District, Guangzhou City, Guangdong Province, China
Copyright © Guangzhou HANPOSE 3D Technology Co., Ltd. All Rights Reserved Privacy Policy Blog